![Risa Xu [dot] com](http://images.squarespace-cdn.com/content/v1/63ac93f52d80e243ad1716e0/83b312eb-33fa-4bab-90ac-bf3de477b818/RISA+XU_Full_Grey_Pink.png?format=1500w)
#HowTo: Scarf Headband
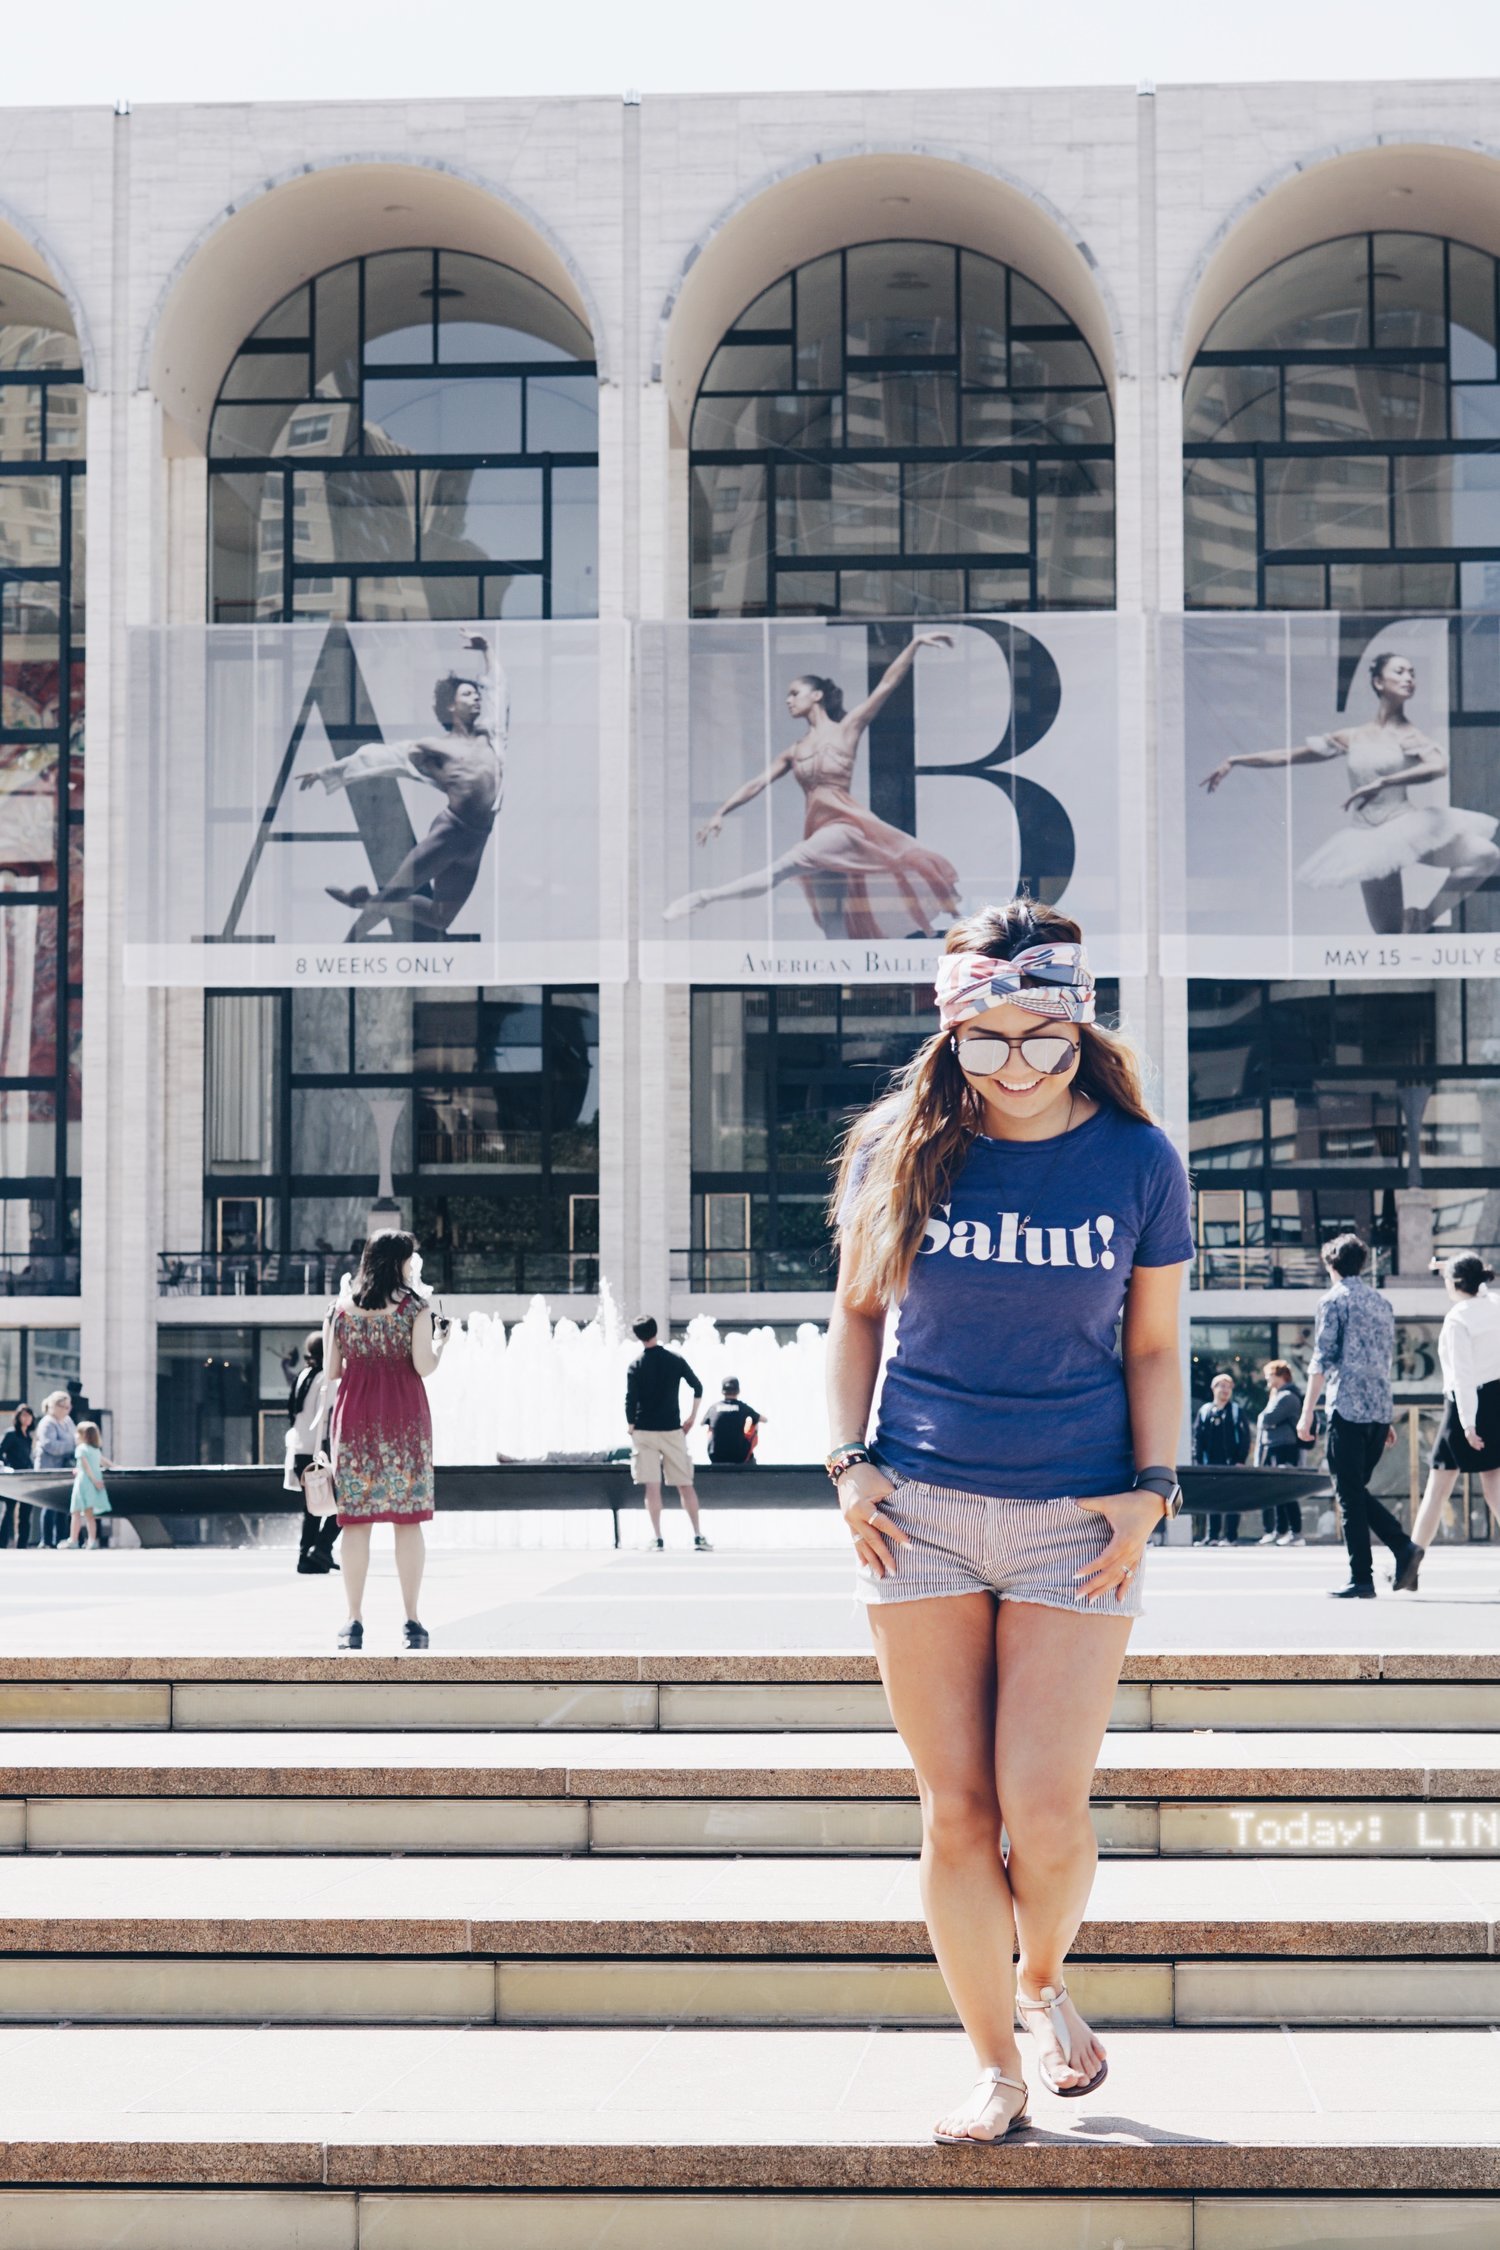
I know it's been a while since I had posted last and I'm so sorry! Between changing jobs (yay!) and being away for two weekends straight, it's a wonder I can still keep my days straight. But thanks to a certain special lady (ahem, Carlye Wisel - if you love Disney and don't follow her on social, you should consider changing that) I wanted to share how you can use a 90cm silk scarf into a headband.
1
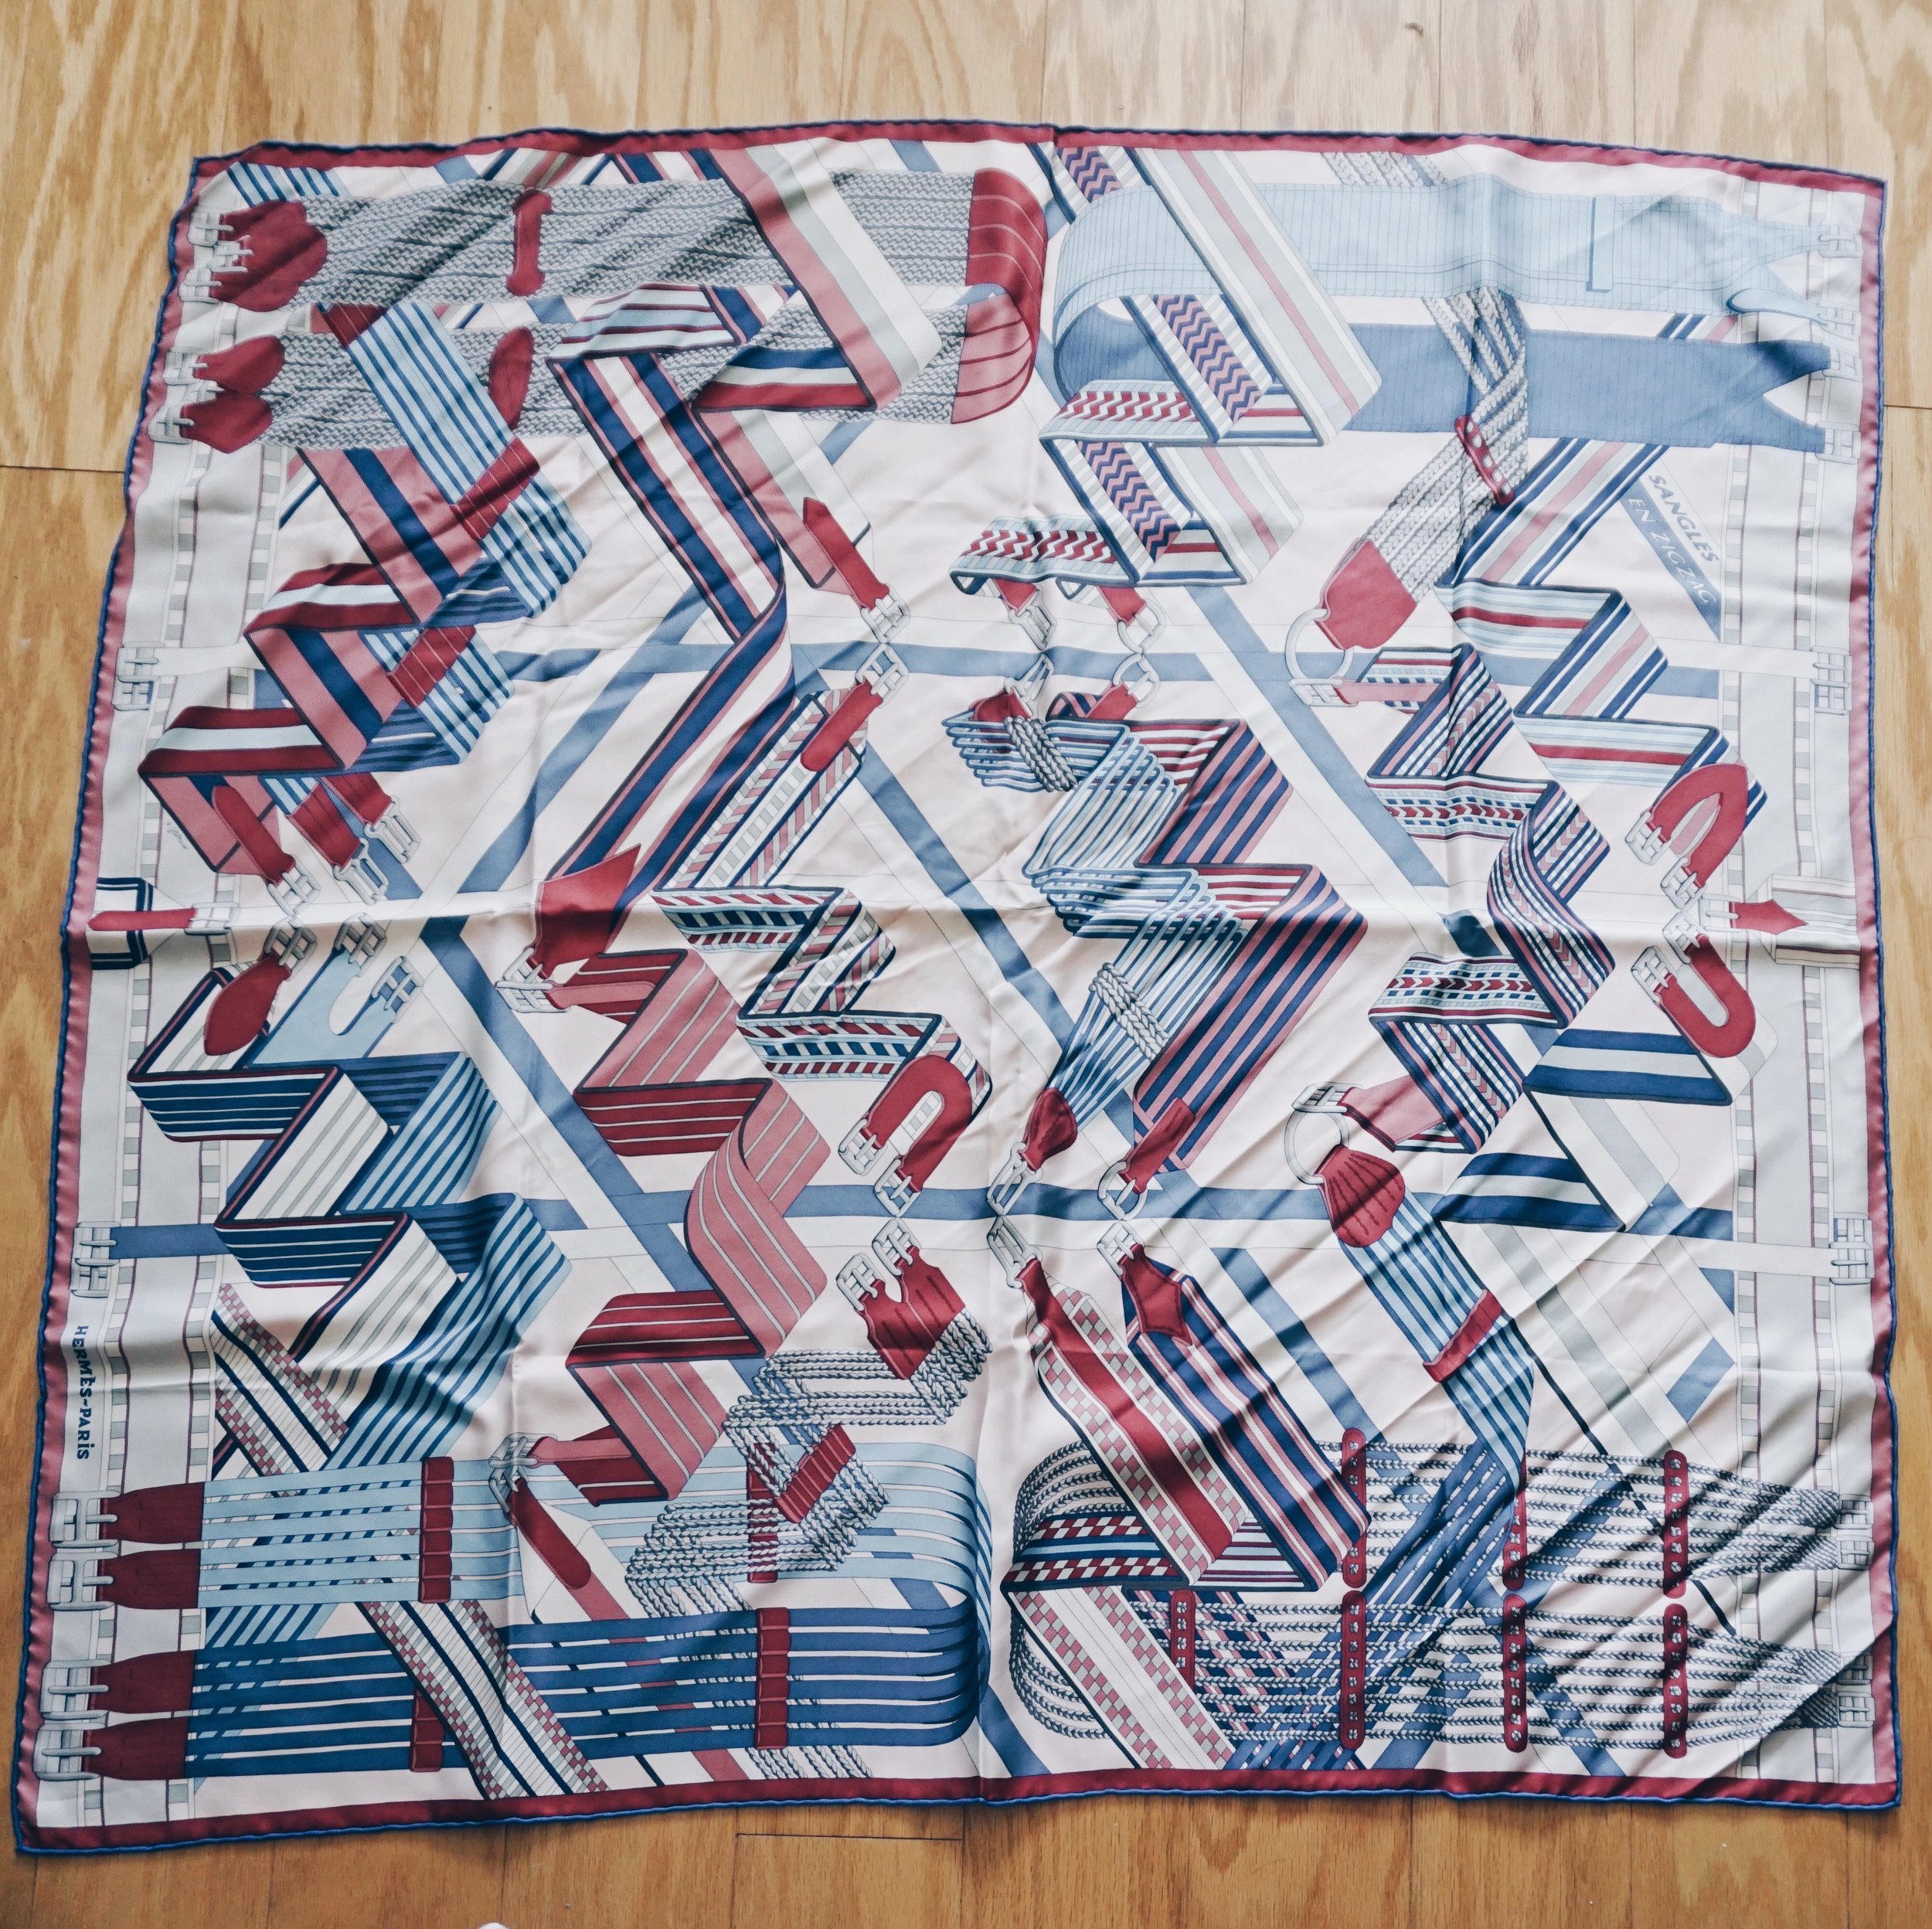
Lay out the scarf flat on a surface.
2
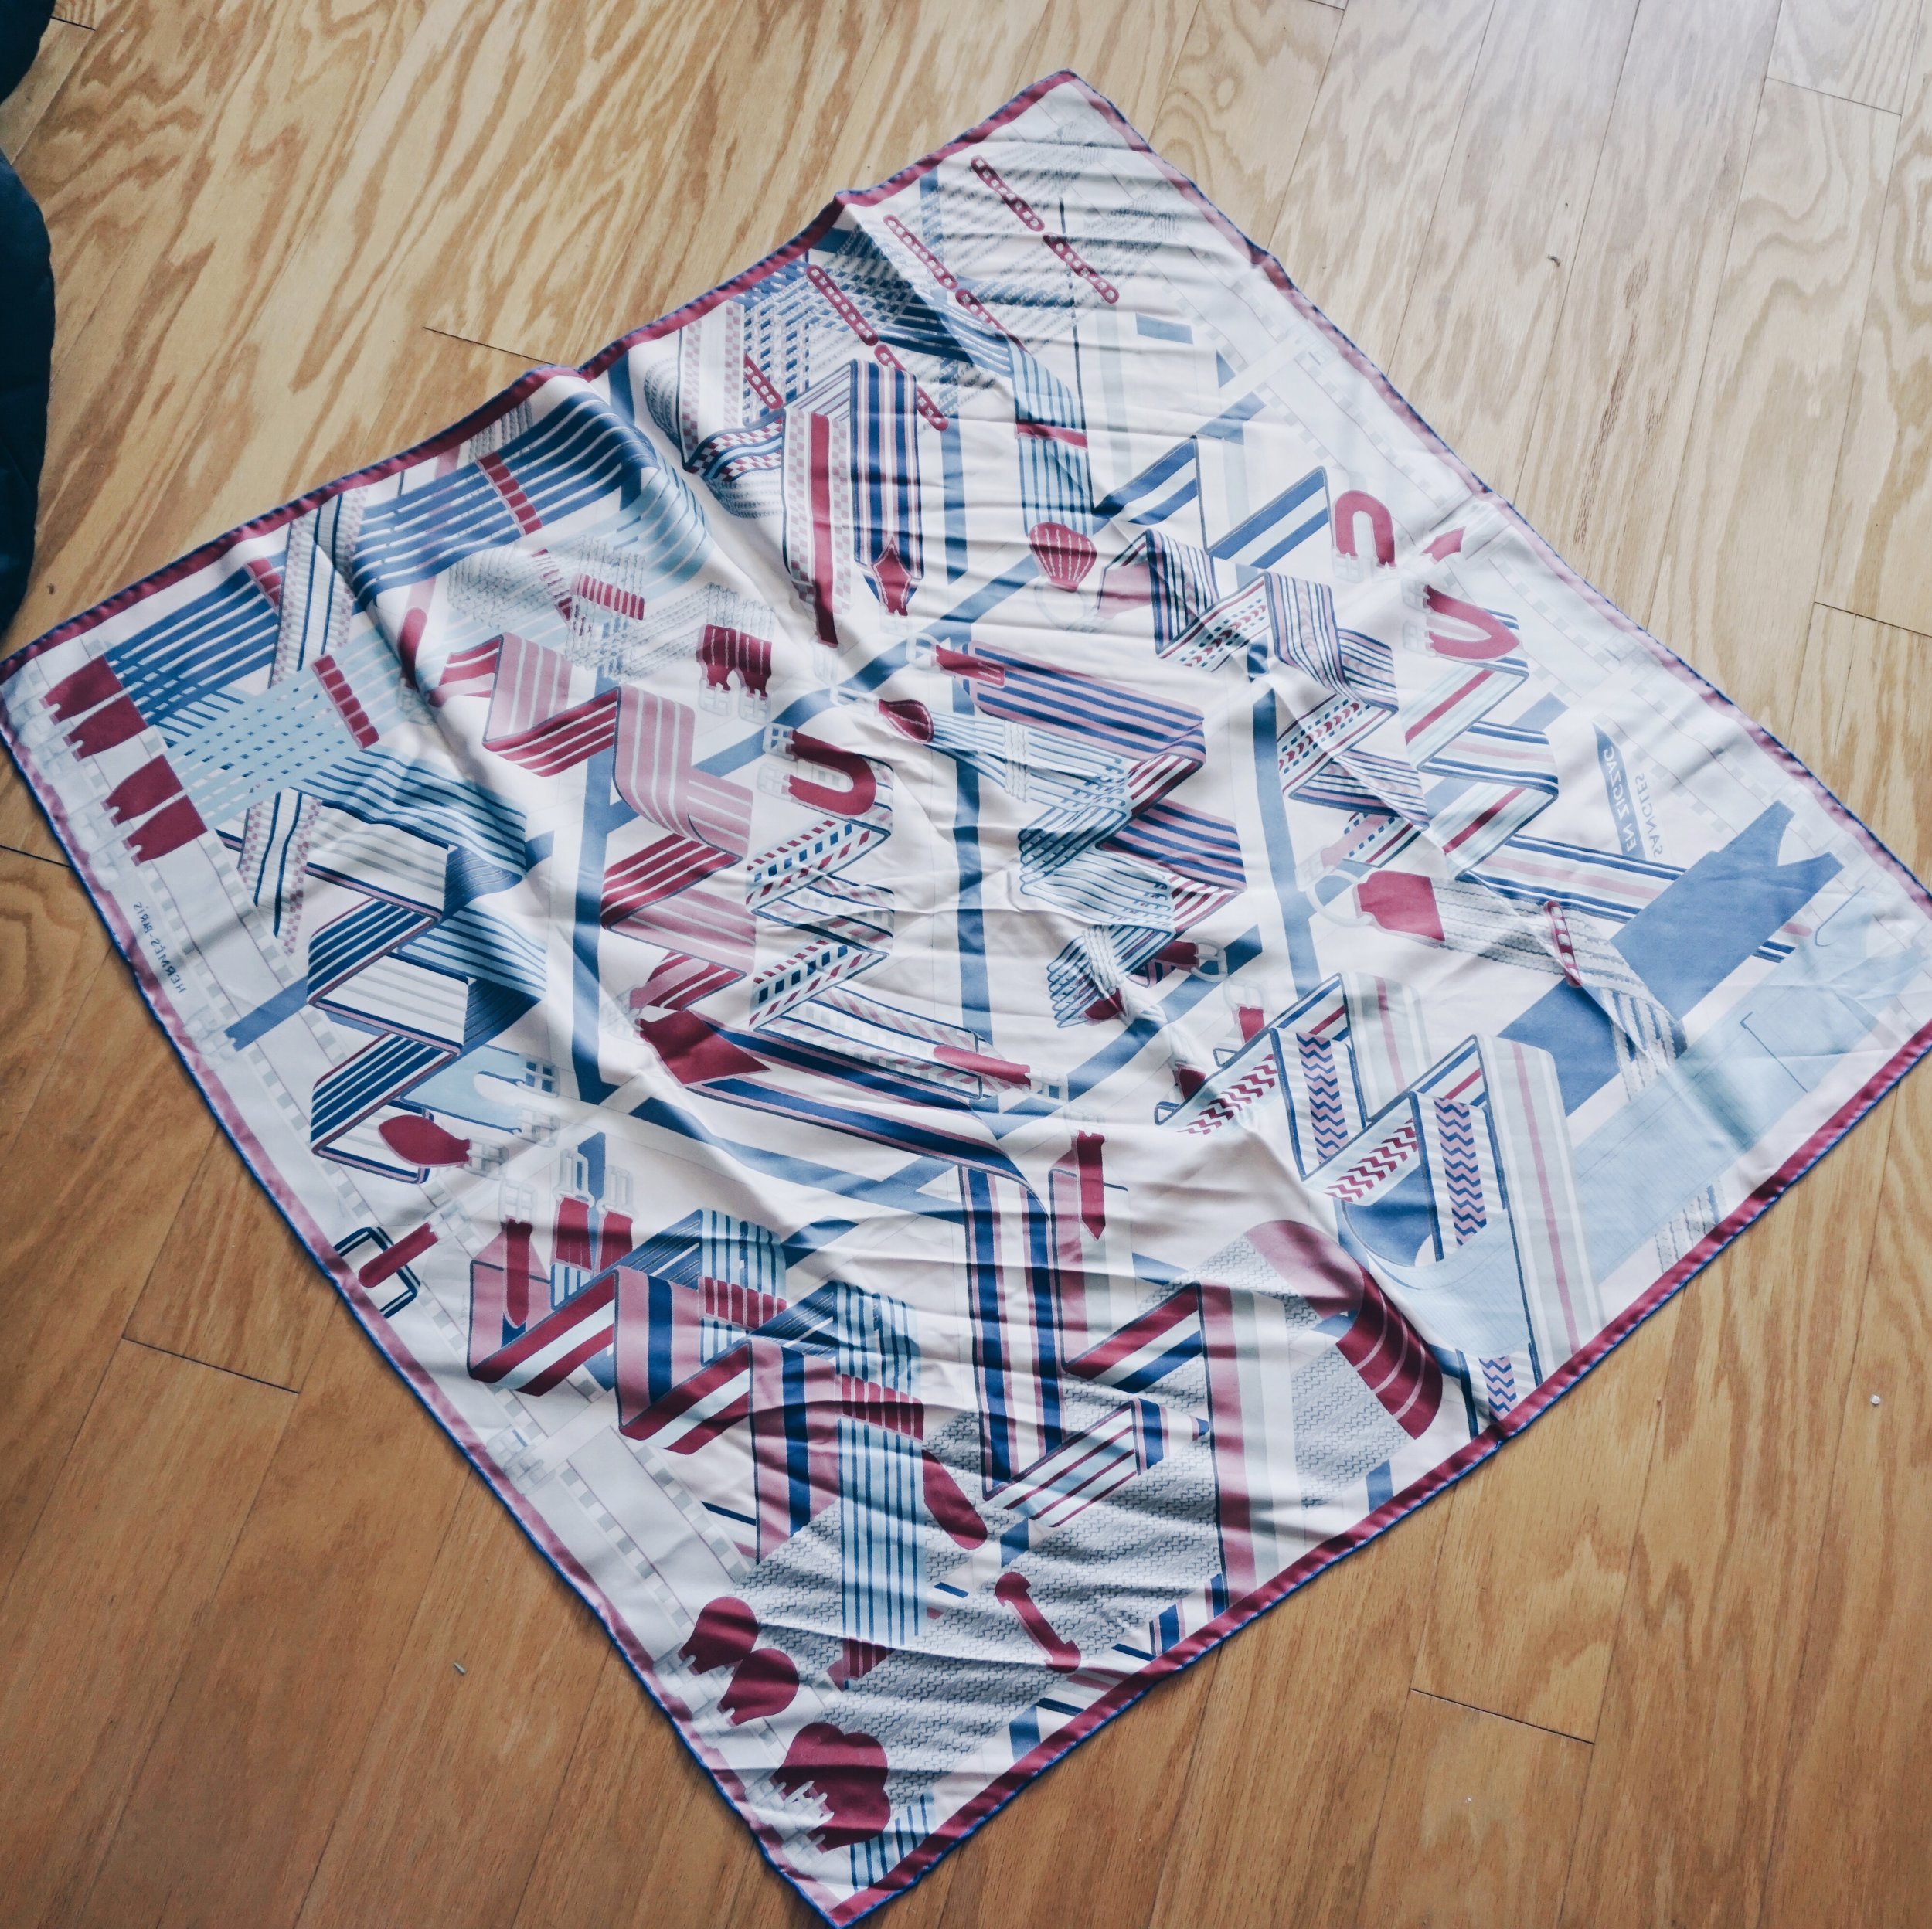
Flip the scarf with the main print face down on the surface (if you're not sure, the colors on the more saturated side should be facing down on the surface) and 45 degrees – so rather than a square, it'll resemble more a diamond shape.
3
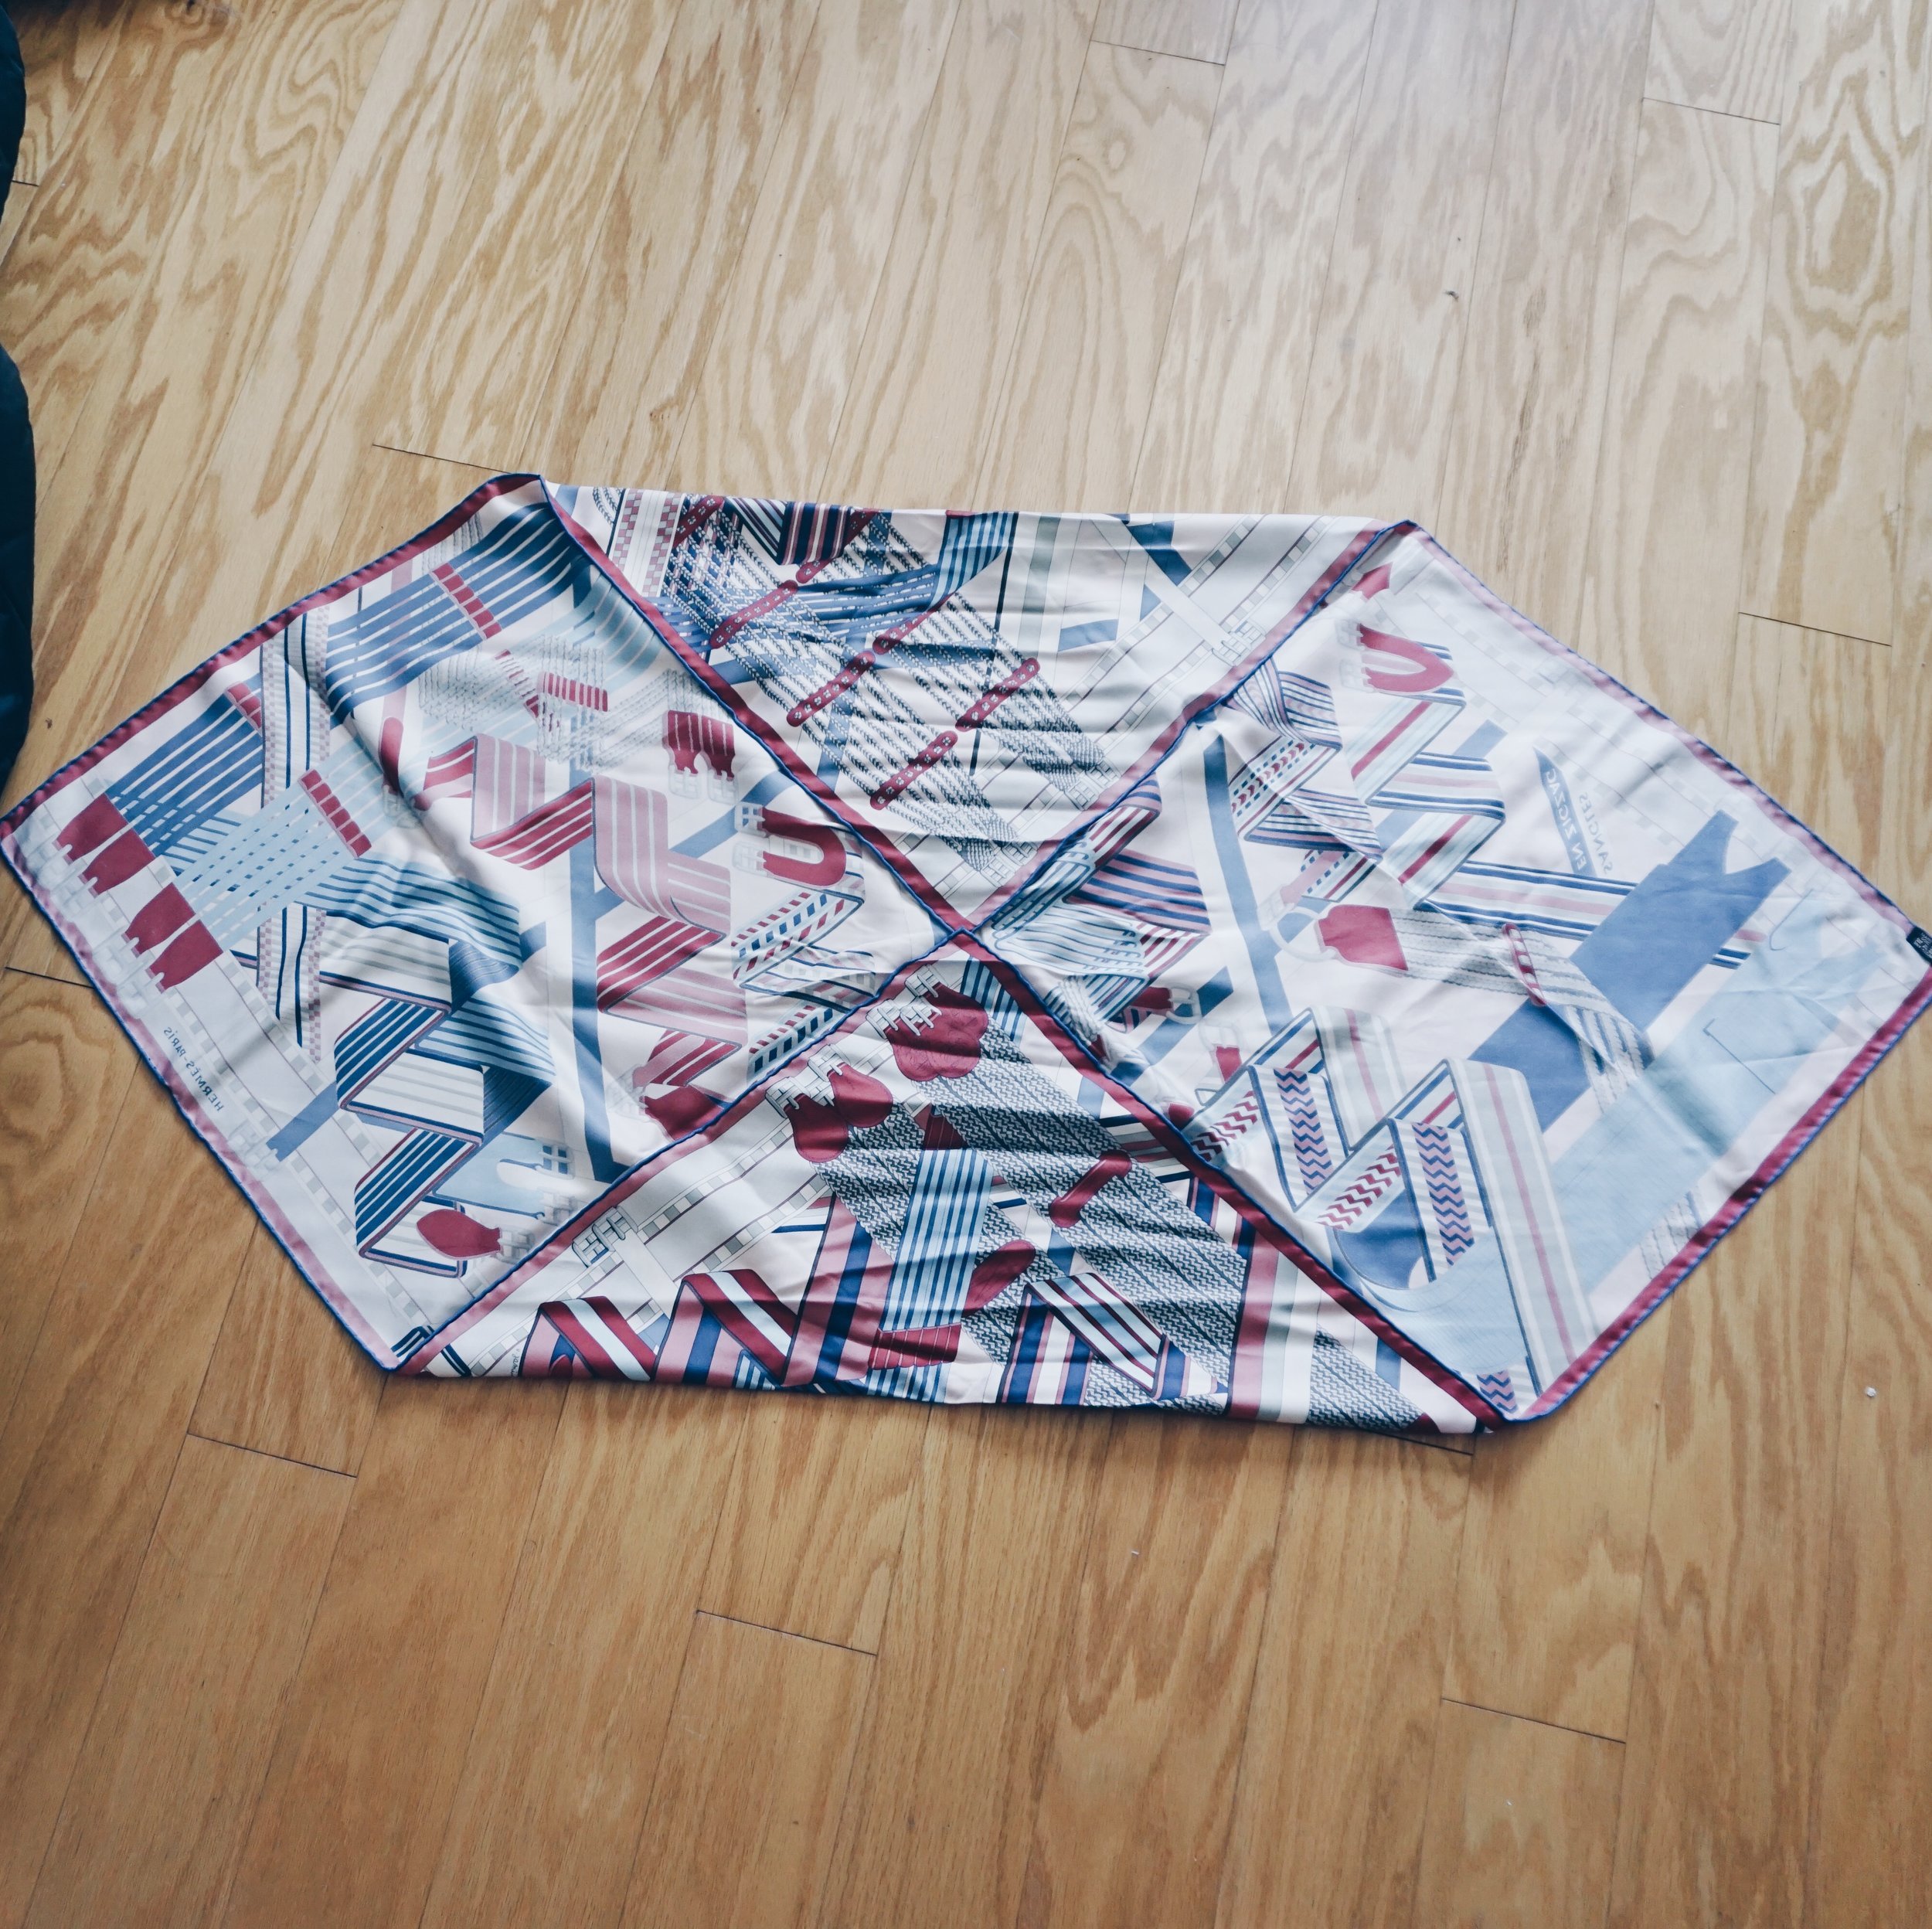
Fold the top and bottom corners into the center of the scarf.

4
Fold the scarf into the center from the top and bottom.
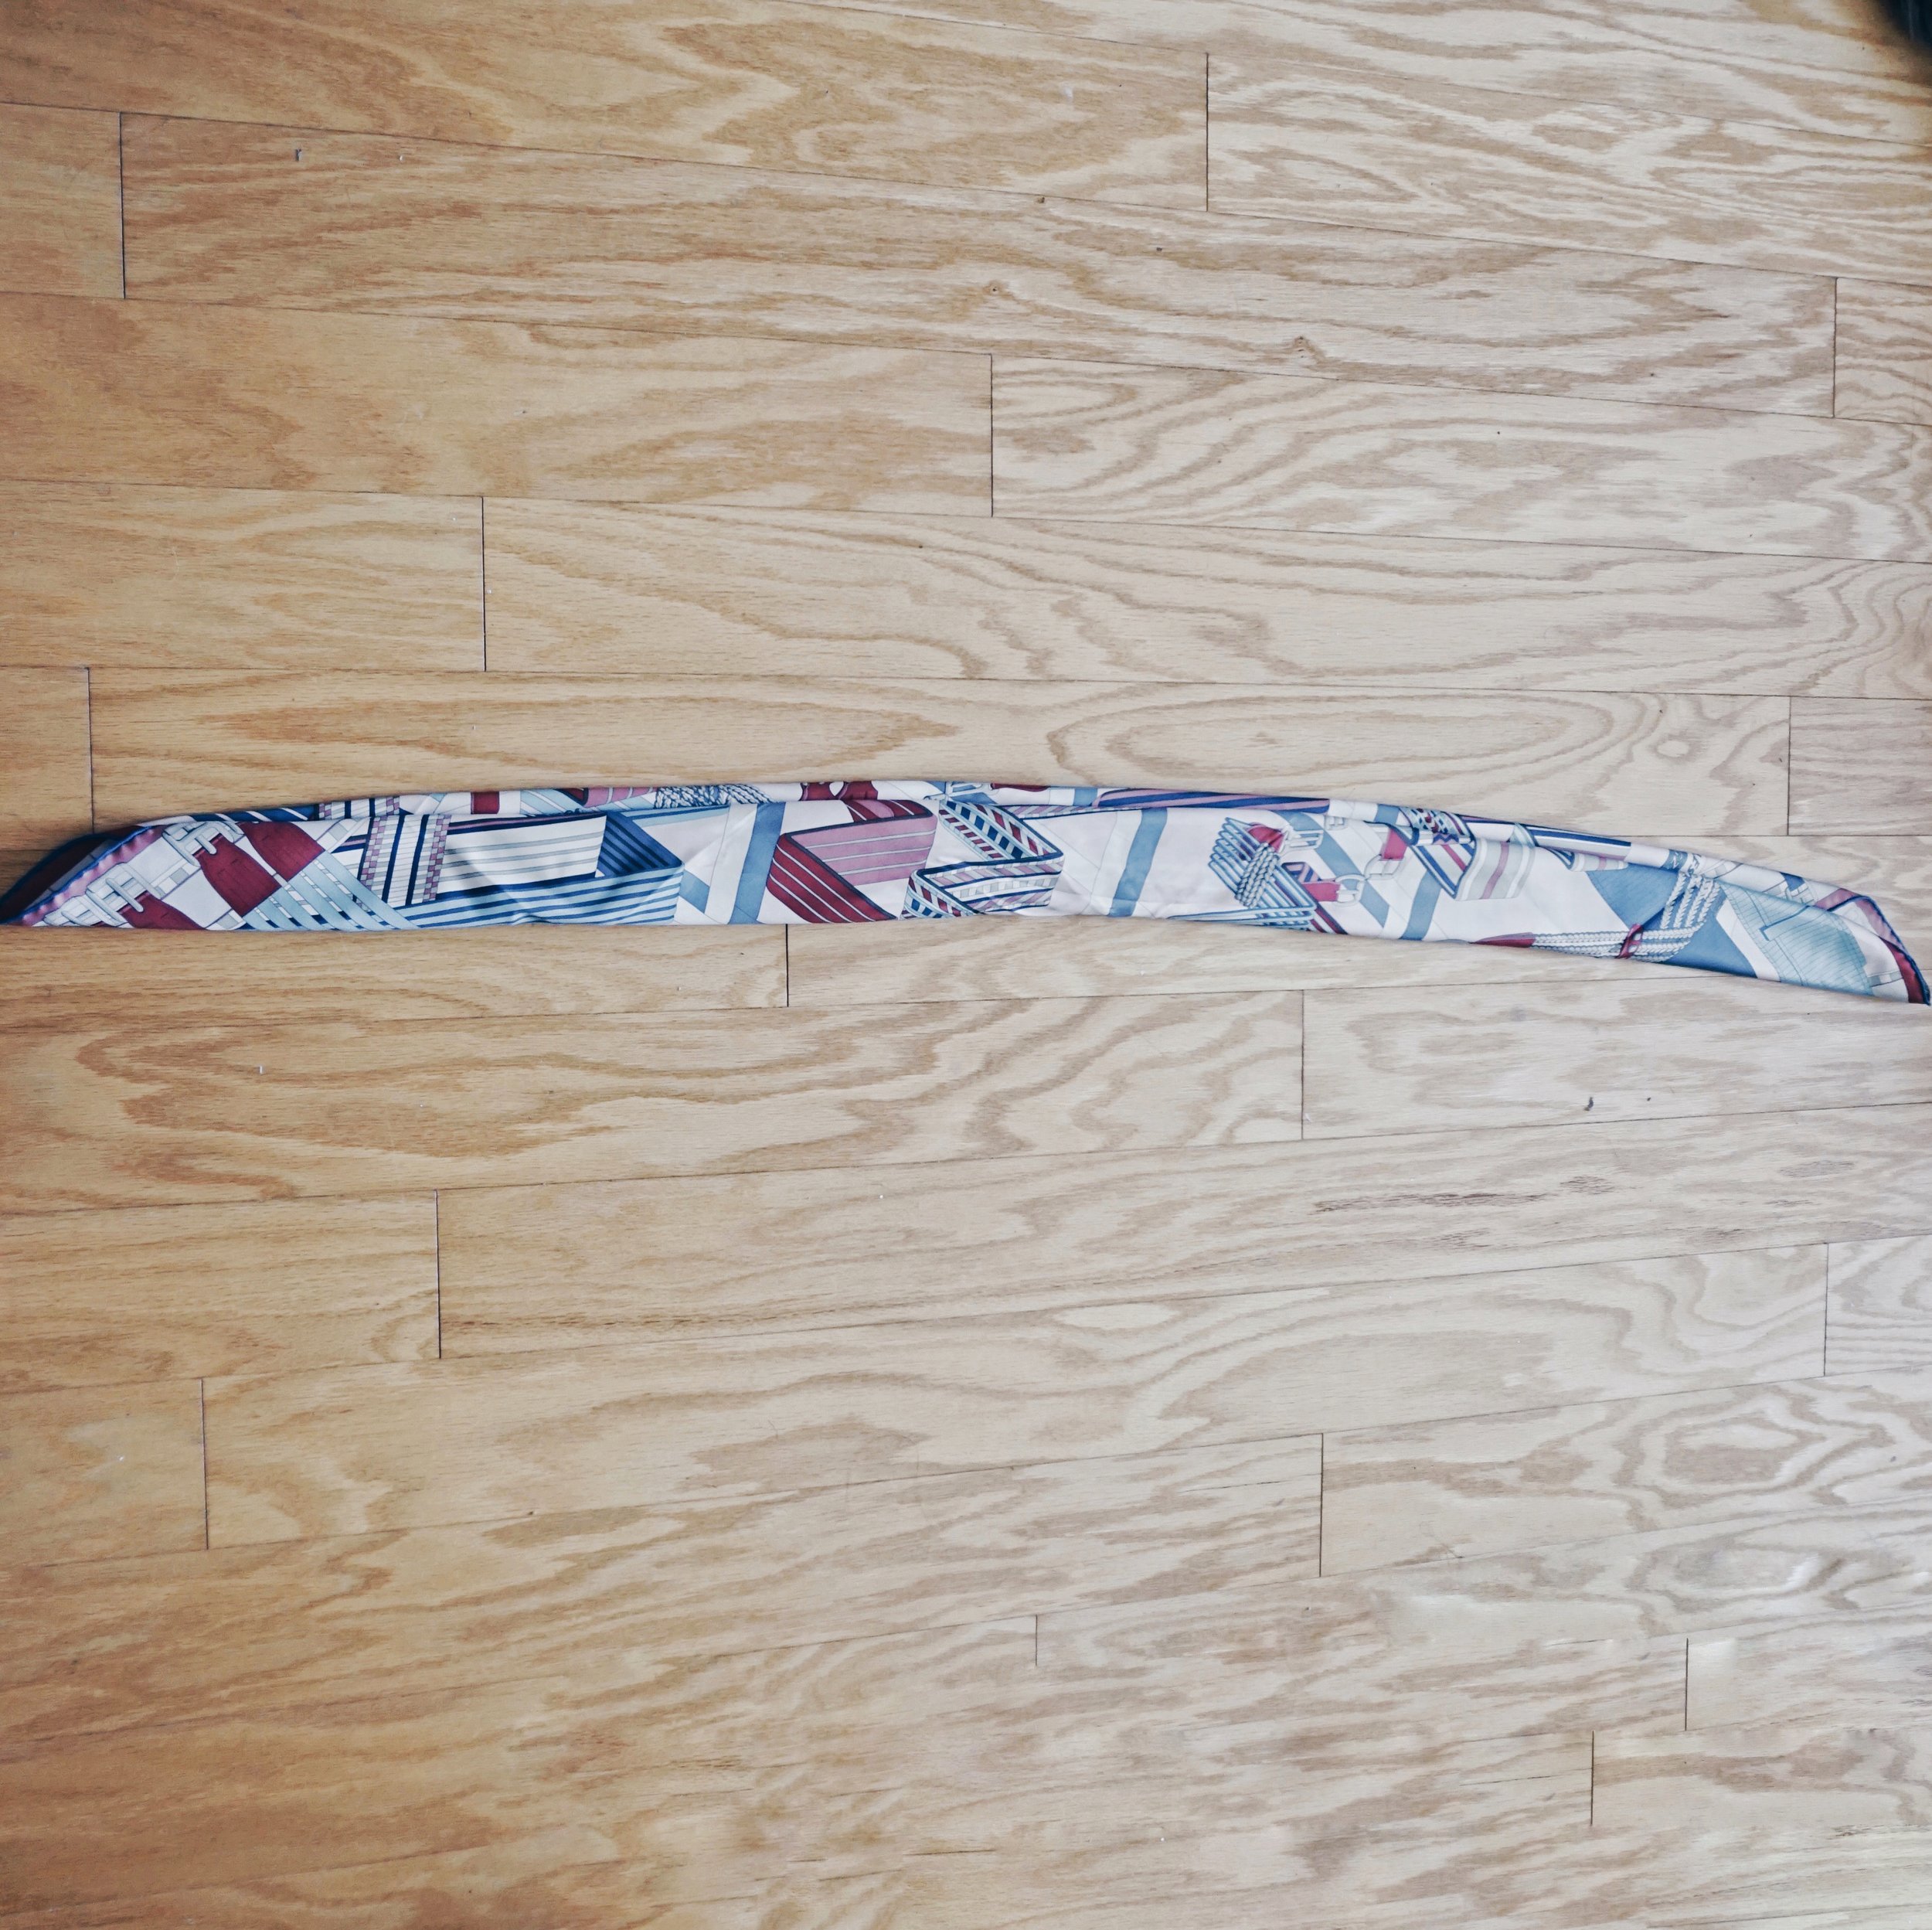
5
And twice more.

And then…
Grab one end in each hand and have the "headband" piece anchor at the back. (Excuse the messy bun – I wanted to make sure you could see.)
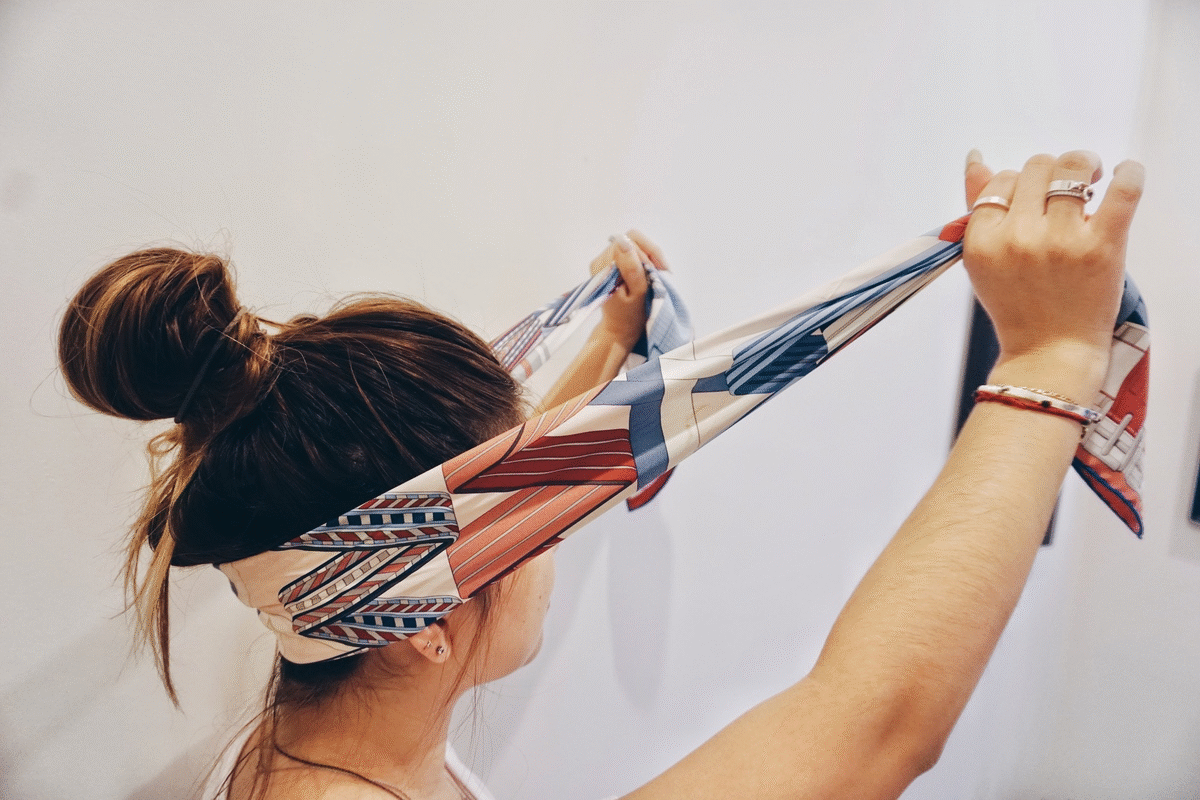
Cross over the two pieces
and pull tightly to begin to wrap towards the back of your head. (This will create that cute knot at the front of the headband.)
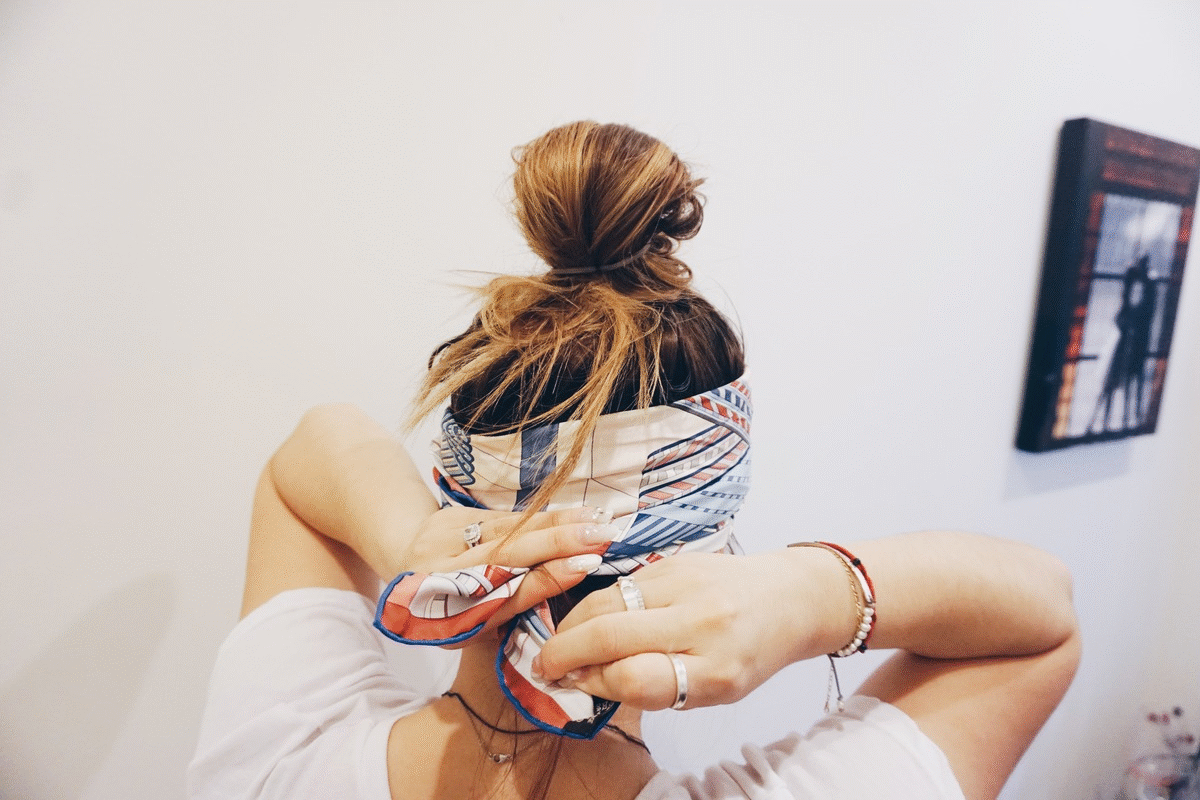
All done!
Just tie at the back and you're all set!
Hope that helps! Feel free to DM me or comment on the blog if you haven questions! I'll be recapping our Wedding Planning session with Disney's Fairy Tale Weddings soon so keep an eye out for that. Until then...
